Why is Save for Web Desaturating my Photos???

HELP! I must have changed a setting or something???

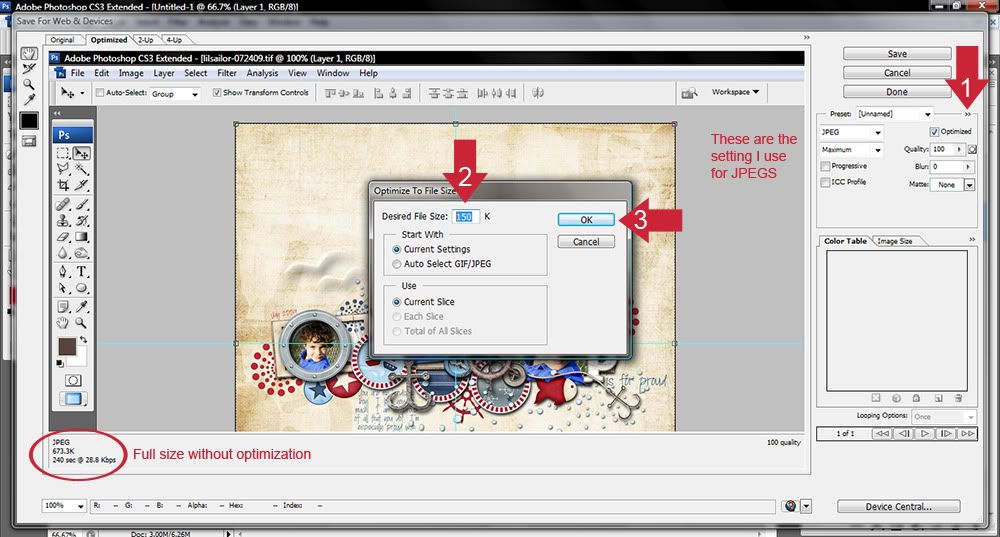
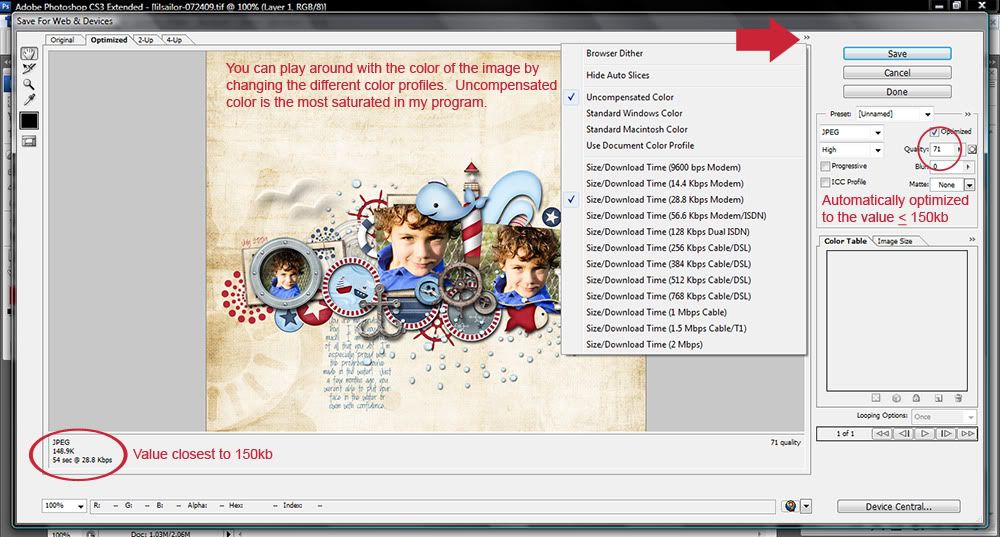
I edited my picture but when i do the save for web function it is taking some of the color out.... me no likey :(

any idea what i did?!?!
 
I know I know!
Are you checking that it's not accidentally defaulting back to saving as .gif??
It desats it when it does that!
 
Check the color profile. I know that with CS4 it now changes automatically when I go to Save for Web. You may have checked or unchecked an option in there. Should be sRGB.
 
I'm not sure if this will help anyone, but I recently put this tutorial together :)
I did this using PSCS3, so it may vary from program to program. Let me know if you have any questions :) I'm including screen shots and a link to the animated version. Sorry the images are so wide, I didn't want to compromise the size of images too much. Due to the width of my laptop monitor, there is lots of "wasted" space that can't be cropped out, lol. I run a duplicated high pass filter set to overlay mode on the resized image, so that is part of the first screen shot. HTH!

http://i147.photobucket.com/albums/r303/seattlesheri/Tutorials/Optimizing-tutorial-1.jpg
Optimizing-tutorial-1.jpg


http://i147.photobucket.com/albums/r303/seattlesheri/Tutorials/Optimizing-tutorial-2.jpg
Optimizing-tutorial-2.jpg


http://i147.photobucket.com/albums/r303/seattlesheri/Tutorials/Optimizing-tutorial-3.jpg
Optimizing-tutorial-3.jpg


http://i147.photobucket.com/albums/r303/seattlesheri/Tutorials/Optimizing-tutorial-4.jpg
Optimizing-tutorial-4.jpg


LINK TO ANIMATED VERSION
 
sheri! you are alife saver! so i found that it was going to uncompensated color profile and that was desaturating it! yay! i feel so much better now! :) thank you guys for helping me figure this out!
 
Wow I never knew that was there!

Sherri, what level of highpass filter do you use? I've tried the unsharp mask thing before on my LOs for web and never gotten it to work right, so I figured I'd give the highpass filter a whirl!!
 
I got the high pass filter trick from Sara Gleason (scarletsierra). Here is what I do. Duplicate the image, on the top copy, change the layer mode to overlay, then run the high pass filter. If you are doing it on the full size image, start at 4 and adjust it up or down until you can just barely see an outline of the image (it will look gray with a slight outline on the edges). If you are running it on the 600x600 version, you should use something in the range of 0.3 to 0.5. If you run it and it looks too sharp, you can always reduce the opacity of the top layer. HTH!!!
 
Back
Top