Andrea Gourley
New member
Have you all been good girls and sent off your Thank You cards for all those lovely presents you recieved at Christmas? No? I thought not - neither have I yet  However I do have a little tutorial that might help you to make a few quick and simple Thank You cards and I have templates for you to download to help make your job even easier :thumbup:
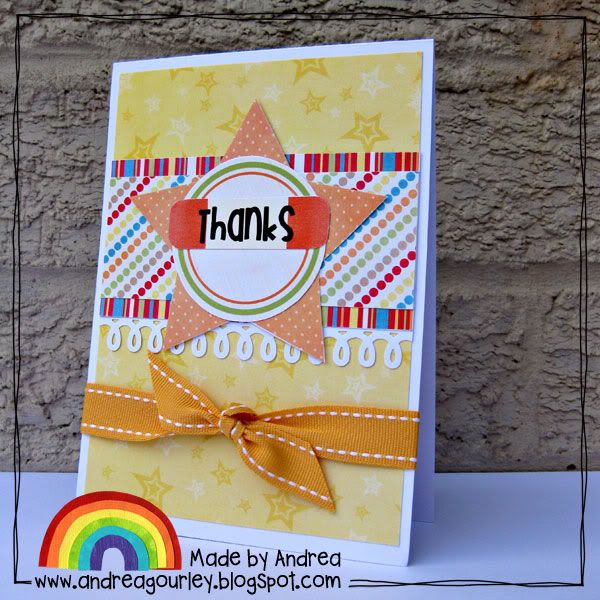
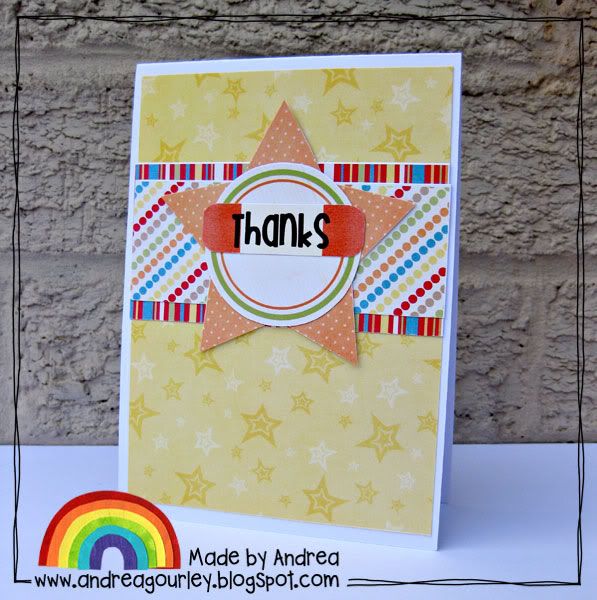
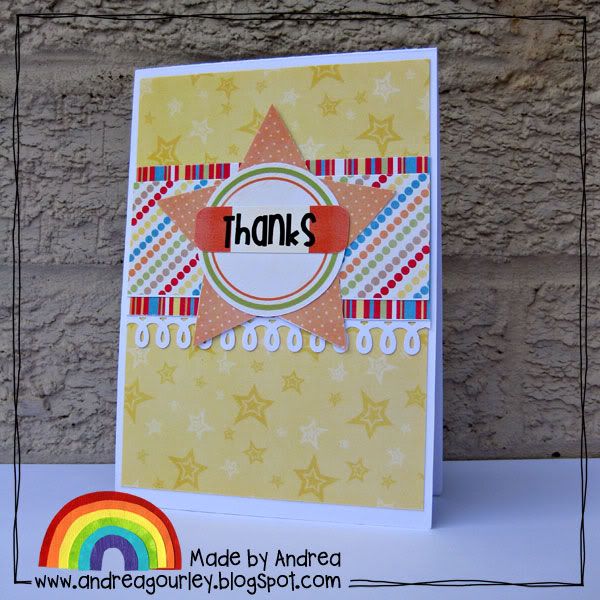
This is the card we're making, I used Melissa Bennett's Fruit Loopy kit (find it in the shoppe here)
I planned my card in photoshop using my template as a base. If you wanted to you could add shadows to each layer, print it out and then simply glue the image directly to a folded card. Or you can do what I did which was create a new document in photoshop that was the same size as my printer paper then I just dragged each layer of the card onto my new document and printed. After printing I sat and cut out all of the shapes and then gathered together my other supplies such as a punched paper border, adhesive and some ribbon. I made by own card bases by folding white card in half and then cutting this in half to make 2 cards from each sheet.

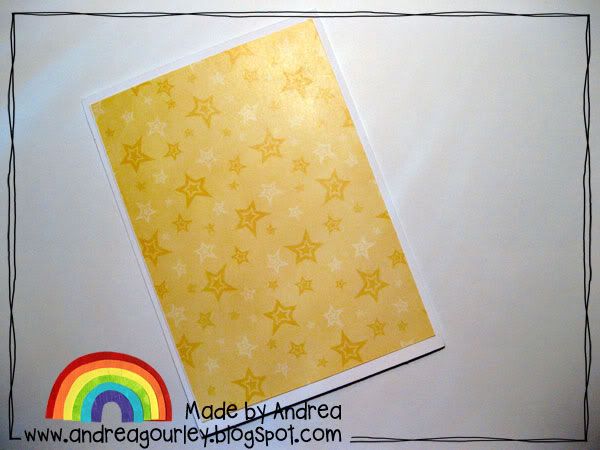
Adhere the background layer to the cardbase, see how it's slightly smaller than my cardbase to leave a border of white all around.
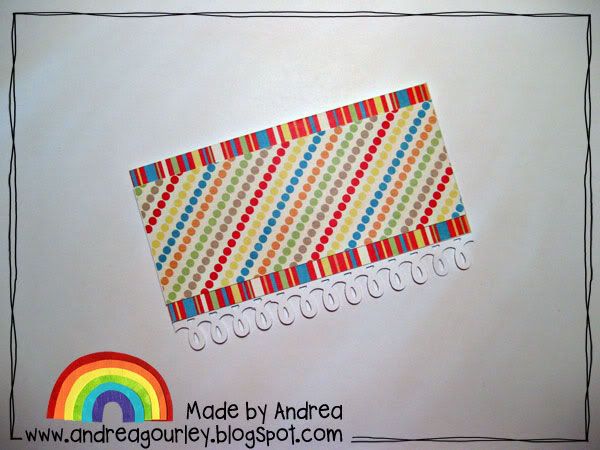
Adhere the paper strips one on top of the other and if you want to add a punched paper border then now is the time to add that too
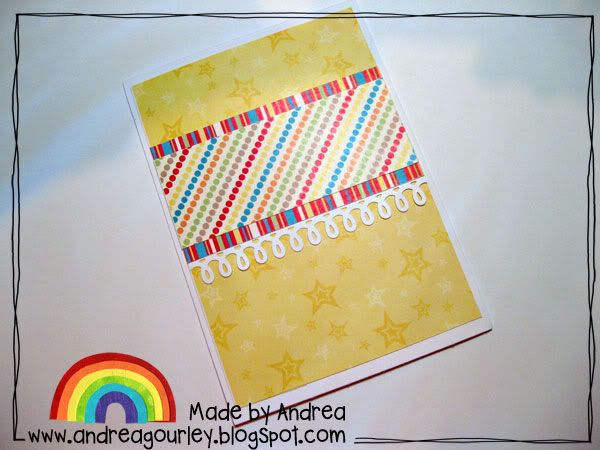
Now adhere that entire panel to the cardbase
Now it's time to create the embellishment. Simply layer the sentiment, the circles and the star on top of each other, you could use foam pads to add dimension if you wanted
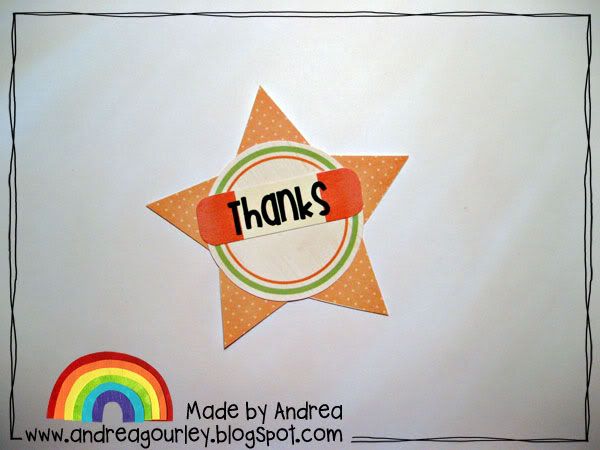
Add the embellishment to the cardbase
Tie a ribbon around the entire cardbase, tie in a knot and trim the ends to make them neat")
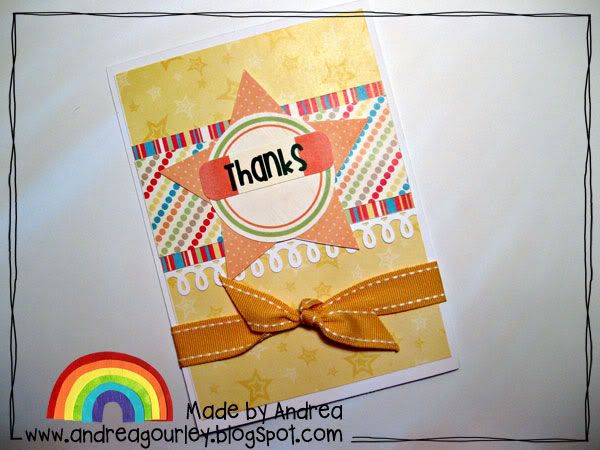
Now you have your finished card.
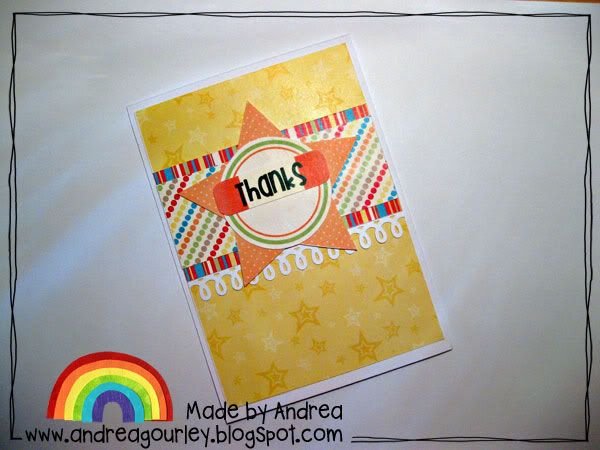
Don't have ribbon? Don't have punches to create a punched paper border? I've thought of that too and you can make great cards without any 'extras' like these two examples.
I have created two templates for this card depending on the size of cardstock you use. Over here in the UK I use A4 cardstock which is a different size to what you use in America so I would use the template for UK size (10cm x 14cm). If you're in America use the template for US size (4.25 inch x 5.5 inch)
You can download the layered templates suitable for photoshop here
I hope you have fun making cards and hopefully this little tutorial and template might help
However I do have a little tutorial that might help you to make a few quick and simple Thank You cards and I have templates for you to download to help make your job even easier :thumbup:This is the card we're making, I used Melissa Bennett's Fruit Loopy kit (find it in the shoppe here)
I planned my card in photoshop using my template as a base. If you wanted to you could add shadows to each layer, print it out and then simply glue the image directly to a folded card. Or you can do what I did which was create a new document in photoshop that was the same size as my printer paper then I just dragged each layer of the card onto my new document and printed. After printing I sat and cut out all of the shapes and then gathered together my other supplies such as a punched paper border, adhesive and some ribbon. I made by own card bases by folding white card in half and then cutting this in half to make 2 cards from each sheet.
Adhere the background layer to the cardbase, see how it's slightly smaller than my cardbase to leave a border of white all around.
Adhere the paper strips one on top of the other and if you want to add a punched paper border then now is the time to add that too
Now adhere that entire panel to the cardbase
Now it's time to create the embellishment. Simply layer the sentiment, the circles and the star on top of each other, you could use foam pads to add dimension if you wanted
Add the embellishment to the cardbase
Tie a ribbon around the entire cardbase, tie in a knot and trim the ends to make them neat
Now you have your finished card.
Don't have ribbon? Don't have punches to create a punched paper border? I've thought of that too and you can make great cards without any 'extras' like these two examples.
I have created two templates for this card depending on the size of cardstock you use. Over here in the UK I use A4 cardstock which is a different size to what you use in America so I would use the template for UK size (10cm x 14cm). If you're in America use the template for US size (4.25 inch x 5.5 inch)
You can download the layered templates suitable for photoshop here
I hope you have fun making cards and hopefully this little tutorial and template might help
Last edited: