Sweet Shoppe Designs


Go Back   Sweet Shoppe Community > Candy Coated Conversation > A Sweet Little Community
Register FAQ Community Calendar Today's Posts Search

Reply
 
Thread Tools Display Modes
  #1  
Old 06-08-2018, 07:38 PM
jwarcup jwarcup is offline
Sweetie Pie
 
profile gallery send pm
Join Date: Mar 2016
Posts: 11
Default Overlapping Circles Template?

Hi scrapping friends! I am wanting to make something similar to the overlapping circles scrapbook page using Photoshop Elements: (Pinterest Link).

Does anyone know of a template that does this with the circles? Or can anyone offer me assistance on how to get the inside pieces of the circle to be usable? I'm pretty photoshop savvy but this one is throwing me for a loop!

Thanks in advance!
Reply With Quote
  #2  
Old 06-08-2018, 08:49 PM
Amson Amson is offline
Sugar Baby
 
profile gallery send pm
Join Date: Mar 2009
Location: Australia
Posts: 3
Default

If you first create the circles, then create a layer of circle pieces merged (which can be deleted later), you can then select the shapes inside the lines.
__________________
____________________

Carolyn

My Blog: House of Amson
Reply With Quote
  #3  
Old 06-08-2018, 09:59 PM
rach3975's Avatar
rach3975 rach3975 is offline
Jabber-Jawbreaker
 
profile gallery send pm
Join Date: Dec 2007
Location: Northern Virginia
Posts: 8,739
Default

There may be a better way to do this, but here's what comes to mind for me.

1. Make overlapping circles in different colors and lower the opacity. (Make an duplicate of each shape and hide it so you can use it for the border pieces later.)
2. Merge the visible circles, which will then have different colors where the pieces overlapped.
3. Use the magic wand to select the color of each piece and make it its own layer.
4. Go back to the hidden circles and make them 100% opaque so you can pull the borders from them.

Then you can either stroke the circles and delete the inner portions or select the circles, modify/contract the edges of your selection, and delete the center that way.

If all of that is as clear as mud, let me know and I can try to explain it better. Good luck!
__________________
Reply With Quote
  #4  
Old 06-08-2018, 10:48 PM
aussiegirl's Avatar
aussiegirl aussiegirl is offline
Sweet Talker
 
profile gallery send pm
Join Date: Feb 2014
Location: Michigan
Posts: 2,335
Default

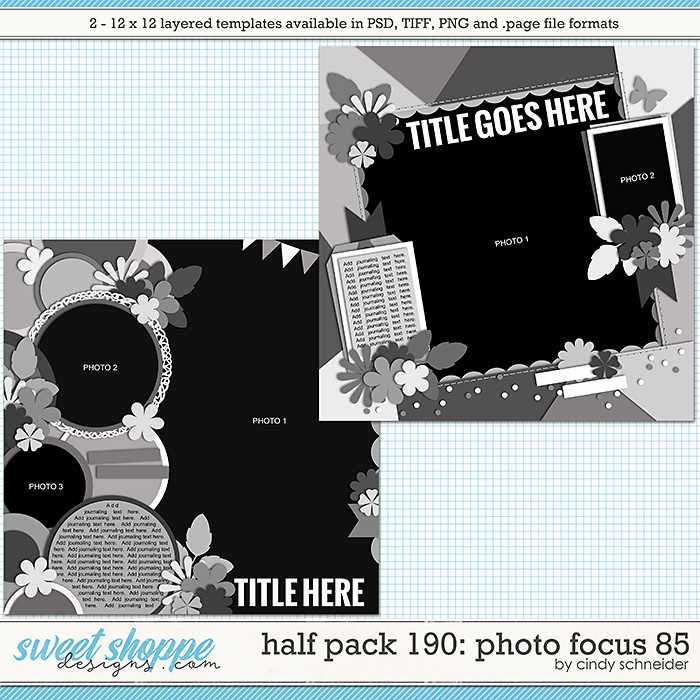
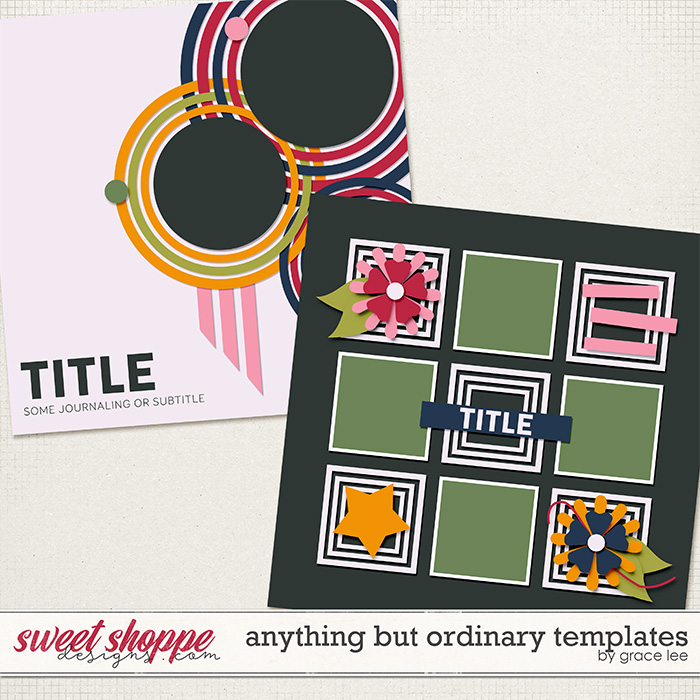
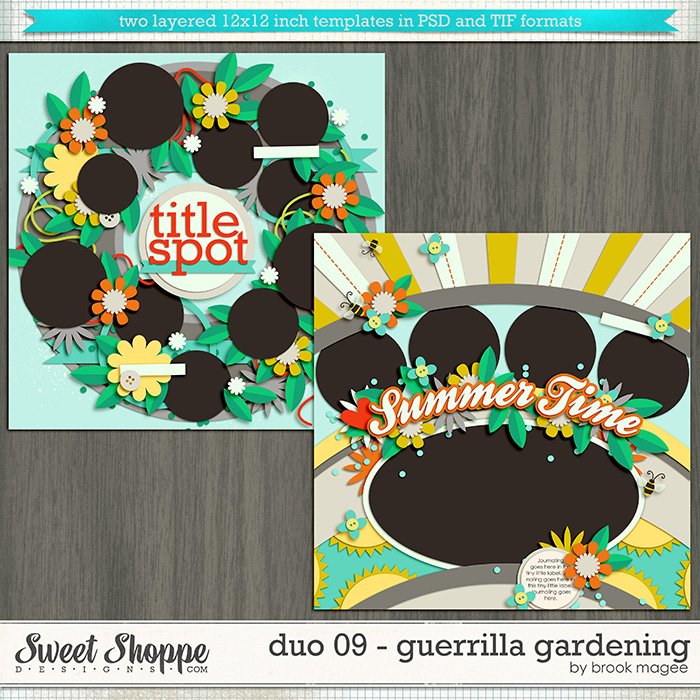
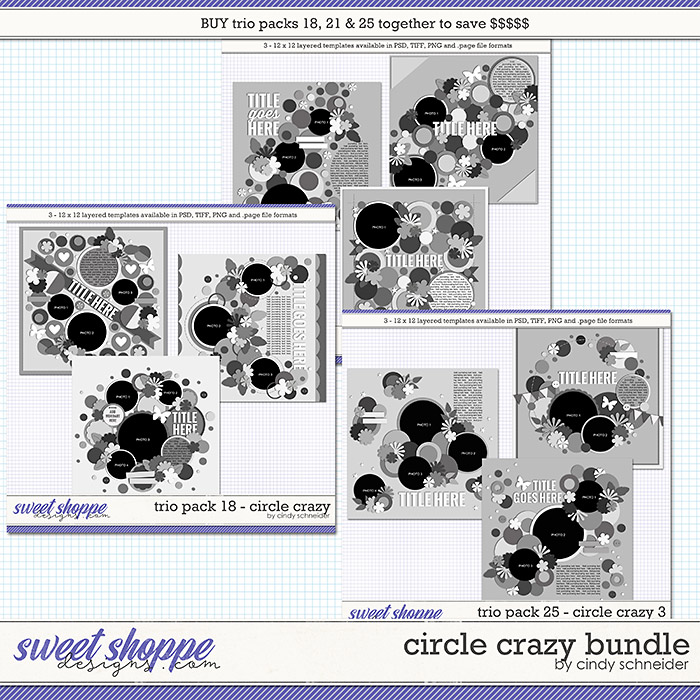
I am awful at figuring things out for myself technically. But what I can do, is search the store! I found some templates that aren't exactly what you are looking for, but you could get the base, and tweak it to fit what you want! At least it might give you a starting point!


__________________
Reply With Quote
  #5  
Old 06-08-2018, 11:03 PM
aussiegirl's Avatar
aussiegirl aussiegirl is offline
Sweet Talker
 
profile gallery send pm
Join Date: Feb 2014
Location: Michigan
Posts: 2,335
Default

Here are a few more:


__________________
Reply With Quote
  #6  
Old 06-08-2018, 11:21 PM
Misty Cato's Avatar
Misty Cato Misty Cato is offline
Jabber-Jawbreaker
 
profile gallery send pm
Join Date: Apr 2008
Location: WA State
Posts: 6,410
Default

Another method.

1. Create the overlapping circles.
2. Select a circle (we will call this circle 1) by Ctrl+click on its layer in the layers palette. You should have 'marching ants' around the perimeter of circle 1.
3. Click on overlapping circle (circle 2) in the layers palette.
4. Layer>New>Layer via copy. This will create a new shape out of the overlapping area.
5. Repeat this process with circles 2 and 3 and again with 1 and 3. Then one more time with the overlap of two of the 'cut out' portions to get the center section.
Reply With Quote
  #7  
Old 06-09-2018, 10:30 AM
jwarcup jwarcup is offline
Sweetie Pie
 
profile gallery send pm
Join Date: Mar 2016
Posts: 11
Default

Thank you so much! I appreciate your help!
Reply With Quote
  #8  
Old 06-09-2018, 10:30 AM
jwarcup jwarcup is offline
Sweetie Pie
 
profile gallery send pm
Join Date: Mar 2016
Posts: 11
Default

Love!! Thank you!!!
Reply With Quote
  #9  
Old 06-09-2018, 10:32 AM
jwarcup jwarcup is offline
Sweetie Pie
 
profile gallery send pm
Join Date: Mar 2016
Posts: 11
Default

Quote:
Originally Posted by rach3975 View Post
There may be a better way to do this, but here's what comes to mind for me.

1. Make overlapping circles in different colors and lower the opacity. (Make an duplicate of each shape and hide it so you can use it for the border pieces later.)
2. Merge the visible circles, which will then have different colors where the pieces overlapped.
3. Use the magic wand to select the color of each piece and make it its own layer.
4. Go back to the hidden circles and make them 100% opaque so you can pull the borders from them.

Then you can either stroke the circles and delete the inner portions or select the circles, modify/contract the edges of your selection, and delete the center that way.

If all of that is as clear as mud, let me know and I can try to explain it better. Good luck!

THANK YOU!!!
Reply With Quote
  #10  
Old 06-09-2018, 10:42 AM
jwarcup jwarcup is offline
Sweetie Pie
 
profile gallery send pm
Join Date: Mar 2016
Posts: 11
Default

Thank you ALL for helping me navigate! I think I figured out a way! Love this forum!!

(I'd post a pic but I don't think I can since I'm still 'newbie' status. Either way, I appreciate you all!!)
Reply With Quote
Reply


Posting Rules
You may not post new threads
You may not post replies
You may not post attachments
You may not edit your posts

BB code is On
Smilies are On
[IMG] code is On
HTML code is Off

Forum Jump


All times are GMT -4. The time now is 07:31 PM.


Powered by vBulletin® Version 3.8.7
Copyright ©2000 - 2024, vBulletin Solutions, Inc.
All Creative Content © 2007 SweetShoppeDesigns

Making your memories sweeter

Copyright © 2016 Sweet Shoppe Designs – The Sweetest Digital Scrapbooking Site on the Web | Site by Lilac Creative