Andrea Gourley
New member
3 hours and 10 minutes of my time this afternoon and 40 Christmas cards made each with paper, photograph, ribbon and a stamped tag.
Tools - craft knife and ruler, greeting stamps and ink, tag punch, ribbon and glue
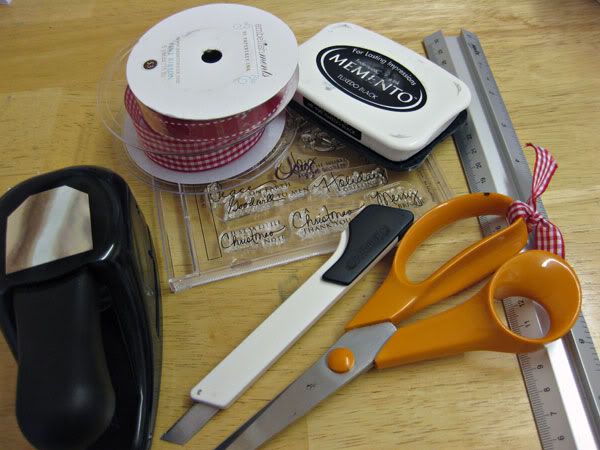
Gather your supplies together. Buy cardblanks from the craft store or cut down cardstock like me. In photoshop I merged two papers together at the correct size to fit my cardblanks then I printed 4 of these pieces to each sheet of printer paper then trimmed them. I punched tag shapes from white paper, stamped a greeting then matted the tags onto red card and trimmed. My photographs were printed in Microsoft Photoprinting Wizard 9 to a page then trimmed all ready for adding to my cards
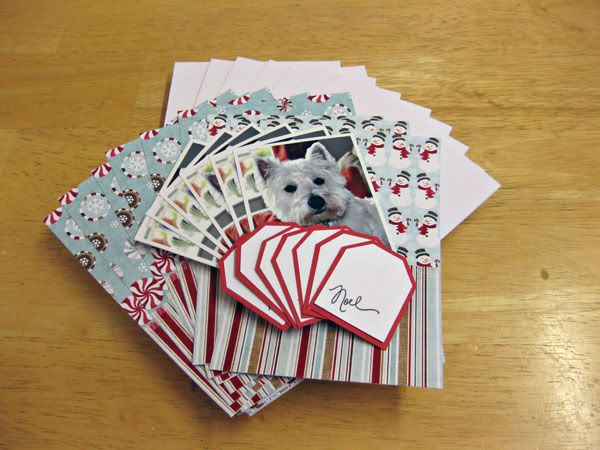
Clear your desk, stack up the papers, cardblanks, tags, photographs and cut your ribbon to the correct length then you're ready to go") Do each step to all the cards before moving onto the next step in the process - rather like a production line
Do each step to all the cards before moving onto the next step in the process - rather like a production line
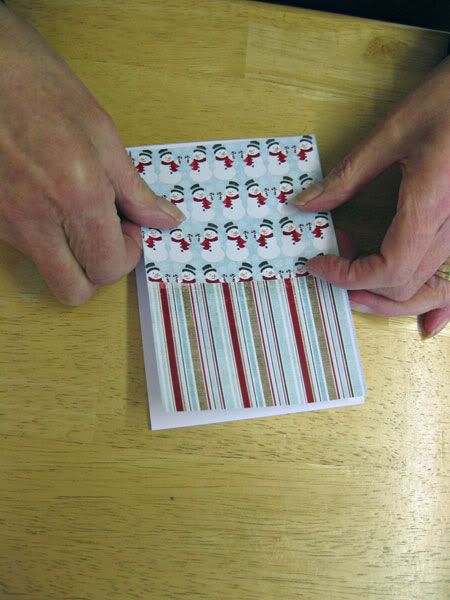
Adhere the paper to the cardblank - having all the patterns on just one piece of paper speeds everything up
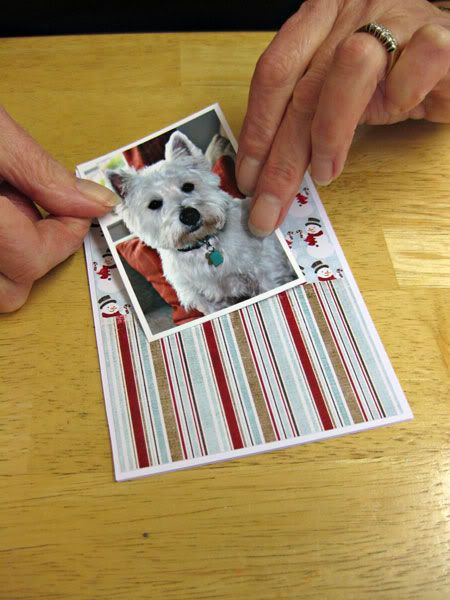
Adhere the photograph - it would be just as easy to add an embellishment instead of the photograph
Tie and knot the ribbon, trim the ends
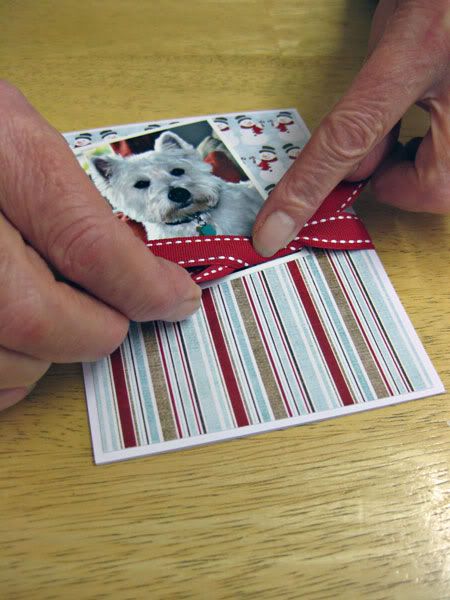
Glue on the tag - position it under the knot of the ribbon and then it will look like you've tied it on without having to get fiddly")

Ta Da!!!!! 40 finished cards. No hassle. No stress. Happy friends and relatives who think you've spent hours handmaking a card for them. A happy cardmaker who can spend the rest of the day watching Christmas movies and snuggling with her puppy
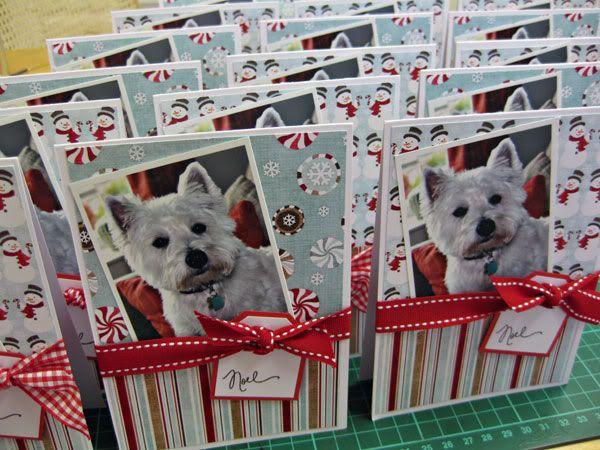
I used Zoe Pearn's Winter Wonderland digital kit

Tools - craft knife and ruler, greeting stamps and ink, tag punch, ribbon and glue
Gather your supplies together. Buy cardblanks from the craft store or cut down cardstock like me. In photoshop I merged two papers together at the correct size to fit my cardblanks then I printed 4 of these pieces to each sheet of printer paper then trimmed them. I punched tag shapes from white paper, stamped a greeting then matted the tags onto red card and trimmed. My photographs were printed in Microsoft Photoprinting Wizard 9 to a page then trimmed all ready for adding to my cards
Clear your desk, stack up the papers, cardblanks, tags, photographs and cut your ribbon to the correct length then you're ready to go
Do each step to all the cards before moving onto the next step in the process - rather like a production line Adhere the paper to the cardblank - having all the patterns on just one piece of paper speeds everything up
Adhere the photograph - it would be just as easy to add an embellishment instead of the photograph
Tie and knot the ribbon, trim the ends
Glue on the tag - position it under the knot of the ribbon and then it will look like you've tied it on without having to get fiddly
Ta Da!!!!! 40 finished cards. No hassle. No stress. Happy friends and relatives who think you've spent hours handmaking a card for them. A happy cardmaker who can spend the rest of the day watching Christmas movies and snuggling with her puppy
I used Zoe Pearn's Winter Wonderland digital kit
Last edited:

